Have any scraps of wrapping paper never used? Empty shoeboxes? What about cut up pieces of origami paper? Colorful newspaper? This project is for you. We'll be upcycling all of these items to create a memory box for anything you want!
This project is great for creative, colorful storage ideas and is a fun way to pass the time while watching the Olympics or one of your favorite films.
Supplies
Shoebox (old or new)
Scraps of wrapping/origami paper
ModPodge
Scissors
Paintbrush
Newspaper
Clear Tape
Packaging Tape (optional)
Business Cars, String (optional)
Step One: Cut the newspaper into four different sections, it really helps if you cut using the folds (sizing is the most appropriate).
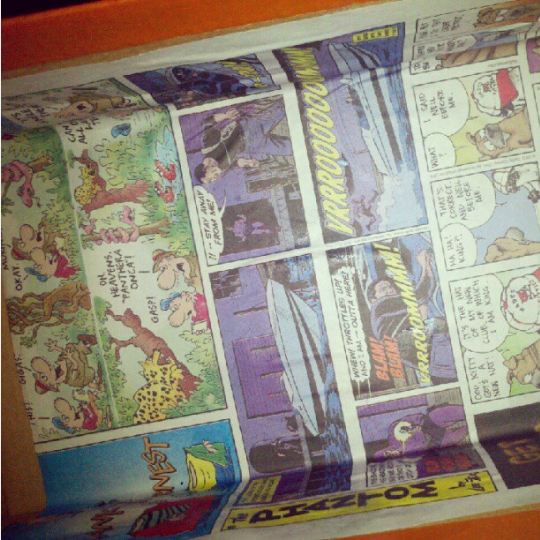
Step Two: Size the newspaper for the shoebox you're using and with modpodge, carefully brush on the glue and place the newspaper inside of the shoebox so that the edges are tight. Continue to add newspaper until all of the sides are covered.
If you want a more glossy, durable inside, after lining the inside of the shoebox, carefully pull long strips of packaging tape to cover the inside of the box. Don't worry about the tape showing on the outside because we'll be covering it up!
NOTE: This step is optional.
Step Three: Adding the scraps of origami/wrapping paper. Starting with the lid, cover the sides of the shoebox first, make sure the strips you are using are long enough to wrap around the lip of the box and tape (or mod podge) the strips around the box.
NOTE: When covering the body of the box, you'll want to use the same method. Make long enough strips so that the paper can comfortably go around the lip of the box and on the bottom of the box. Be sure to keep the paper tight so that the box will be able to close.
Step Four: Cover the top lid of the box with one large strip, make sure to pull tight to make a glossy, simple look.
Step Five: Refer to Step Three in order to cover the body of the box.
For the box in the picture, I decided to create triangles on the side of the box to give it a different look from the lid. I ended up really liking the results!
The Finished Project. This is a fun and easy DIY that gives a little fun to your small storage collection. Ideally, this would be perfect for small yarn storage, letters, or small books, photographs and news articles, but of course you can put in whatever you'd like!


I love memory boxes- my sister & I always kept them as kids & now we love looking through them. Might try this to jazz mine up a bit x
ReplyDeleteThey're awesome to while watching television. I'd love to see what you make!
ReplyDelete